


I have something I’ve been meaning to write to you about for weeks now, and I’m finally getting around to it. It’s kind of like the basement full of buckets, jars, and tongs that have been needing washing (also for weeks now) that I finally got around to cleaning this morning. I guess today is my day for catching up.
As for that thing I’ve been wanting to write to you about, I’ve shown you some of the finished product a little bit, but now I want to tell you about the process I took to get to that finished product and show you some pictures along the way.
What am I talking about? Black walnut dyeing.
I especially enjoy the process of dyeing with black walnuts, because I get to use a dyestuff I forage myself, so I get to work through the entire natural dye process. Yes, this process takes a lot longer than using the powdered extracts that I work with for most of the colors I dye, but it’s a rewarding and worthwhile process.
So without further ado, let me show you how I dye with black walnuts!
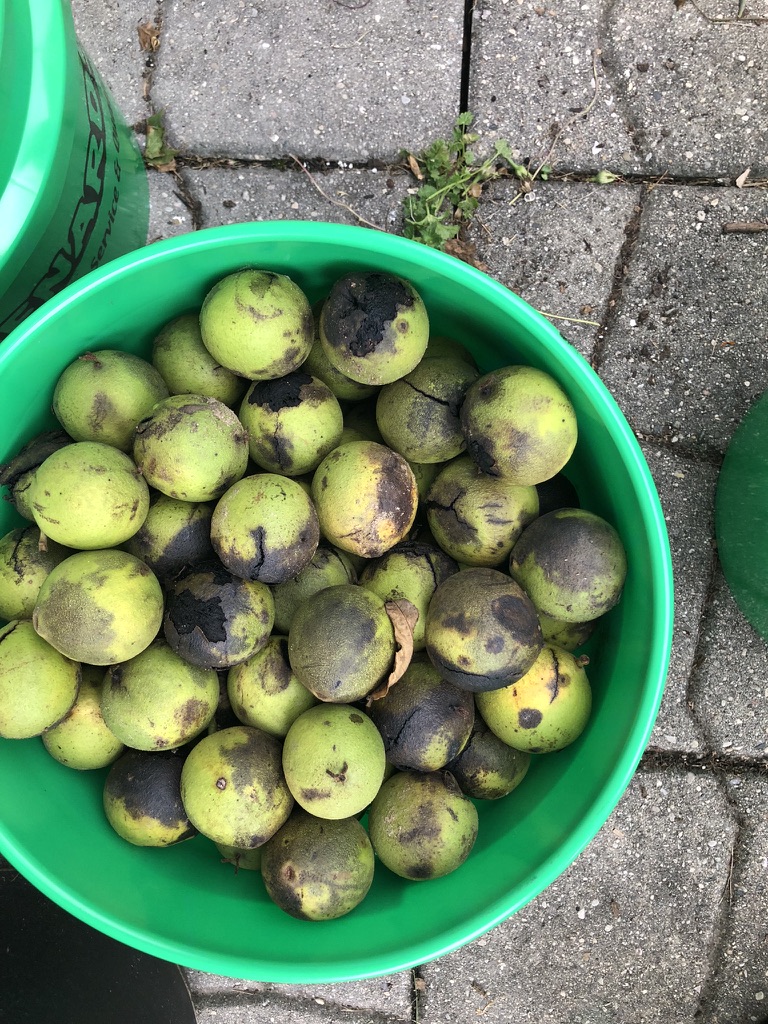
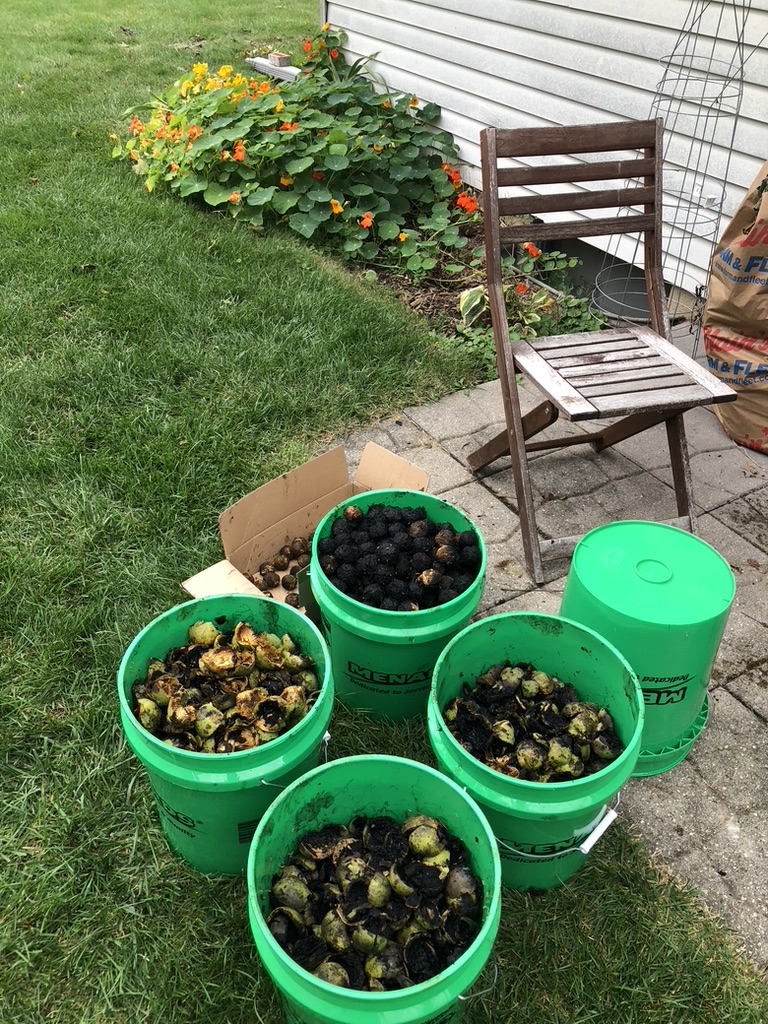
It starts with the foraging, and the last two years, I gathered walnuts from two large trees that are right outside the office building where I used to work. This year, I gathered an estimated 600+ walnuts!
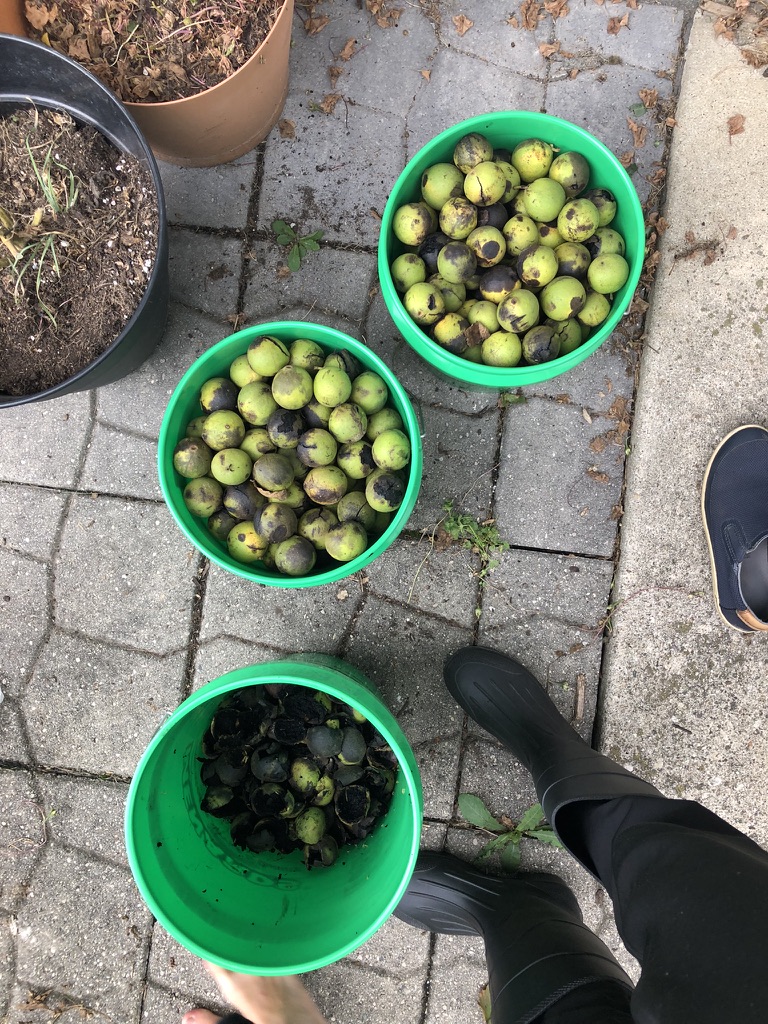
When I got them home, it was time to remove the husks, which are the part I use for dyeing. You can use most parts of the black walnut tree for dyeing (leaves, bark, roots, nuts), but I use the husks because that’s what I learned to do first, and I love the colors I can get.
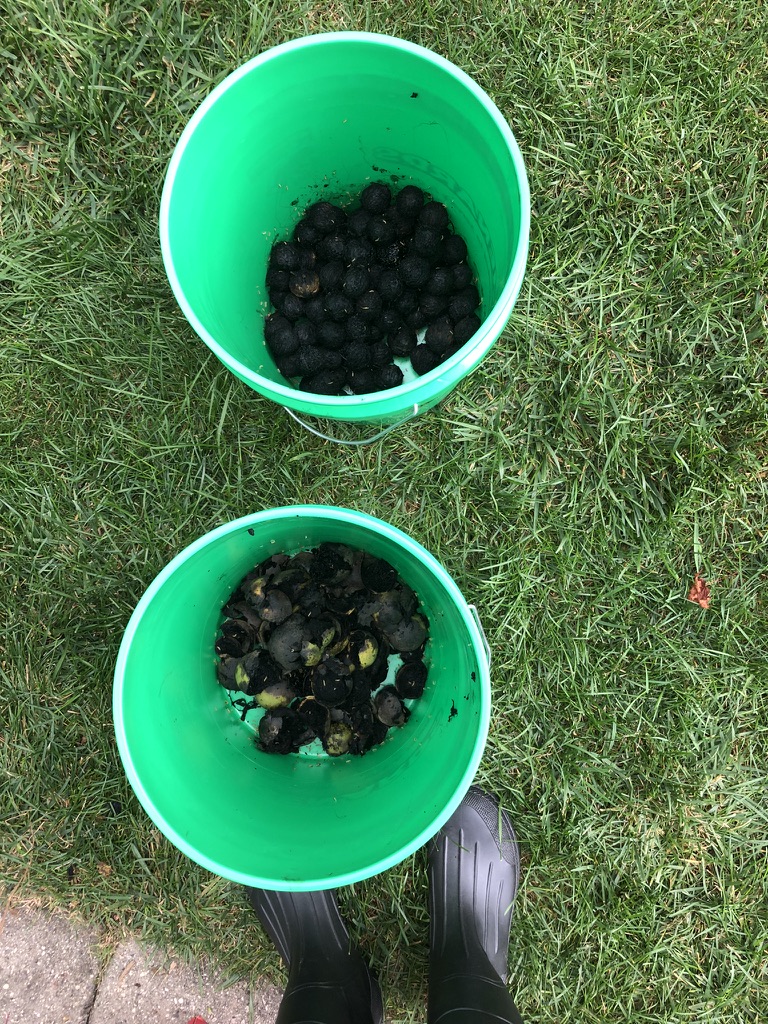
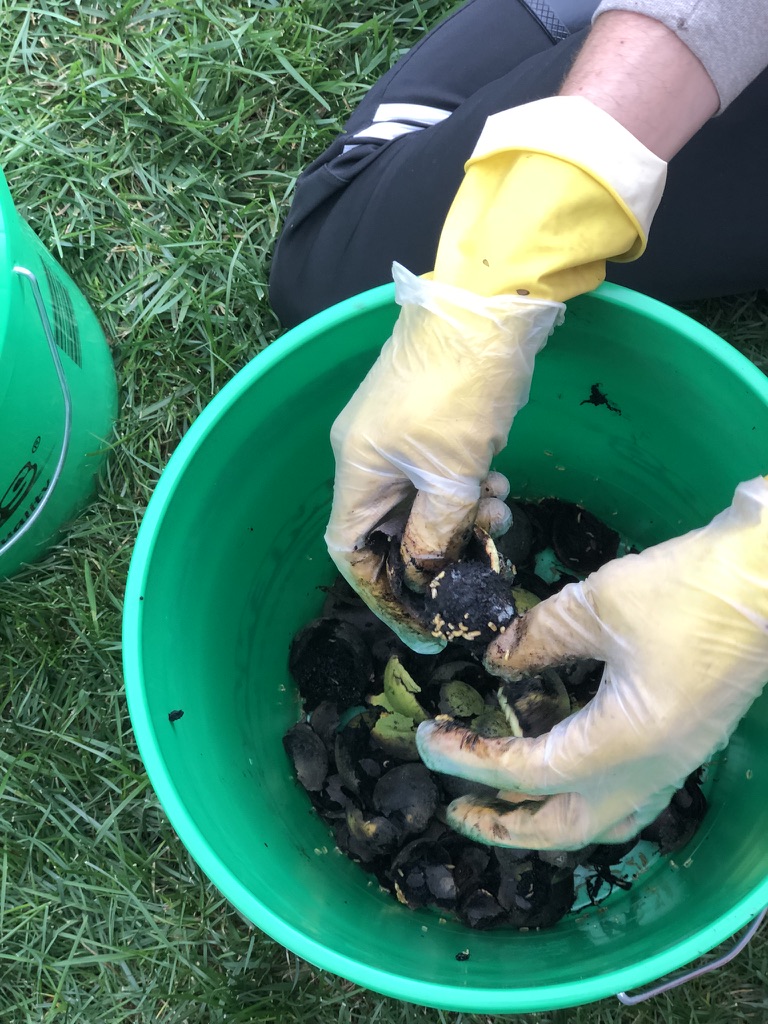
Several hours and one sore back later, the husks were off, and I was able to start soaking them. I filled 6 five-gallon buckets roughly half-full of husks and then added just enough water to cover them.
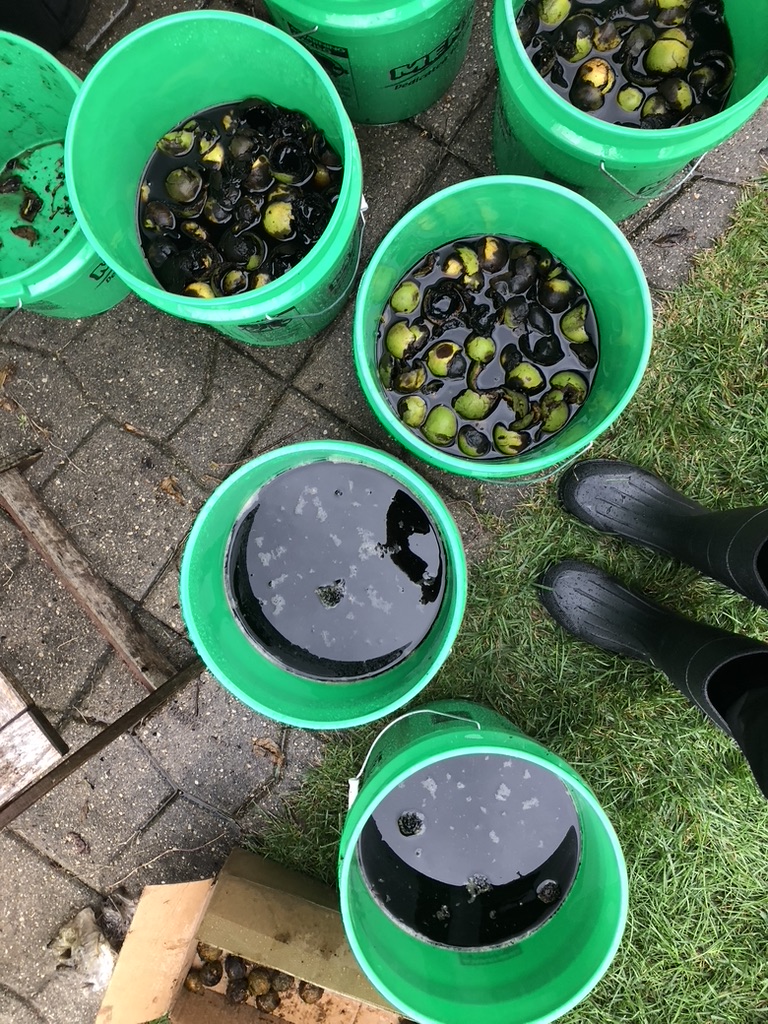
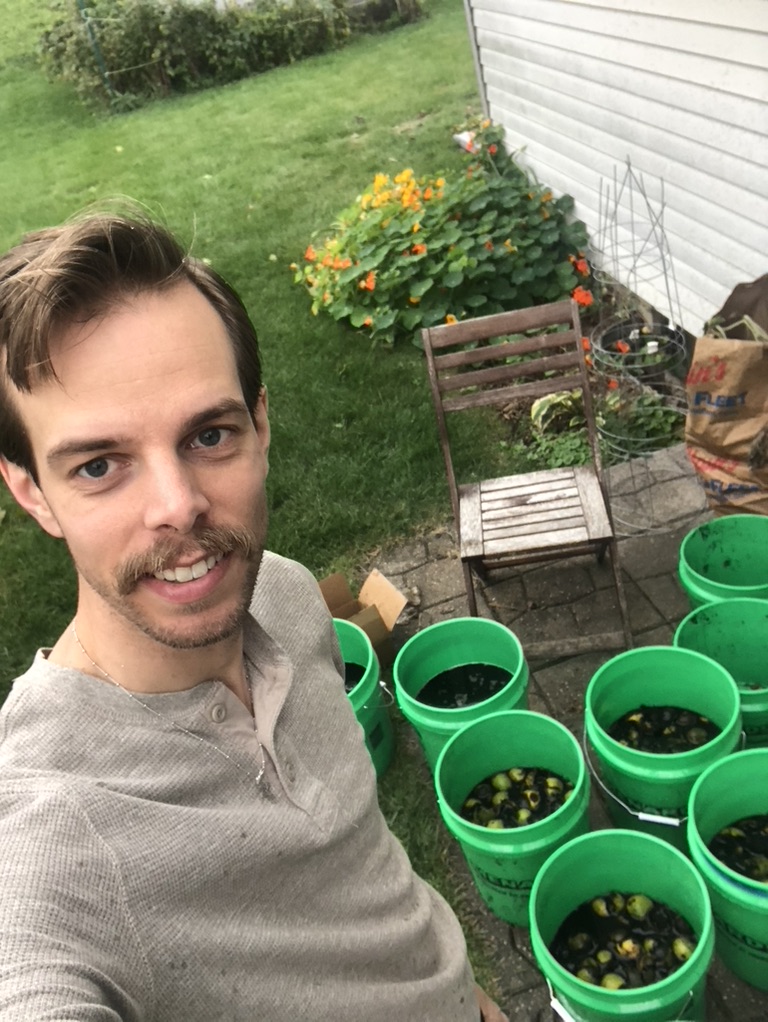
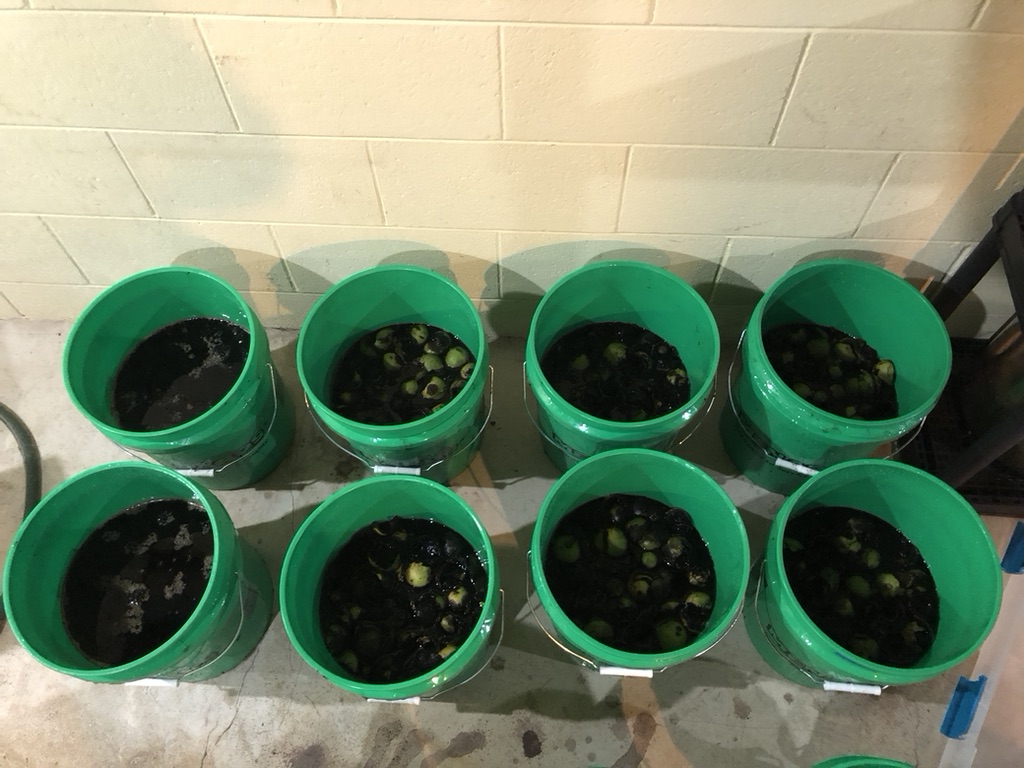
After that, they went in my basement to ferment for 4-6 weeks. During this time, I stir each bucket once or twice a week, which helps prevent the buildup of mold that can sometimes happen.
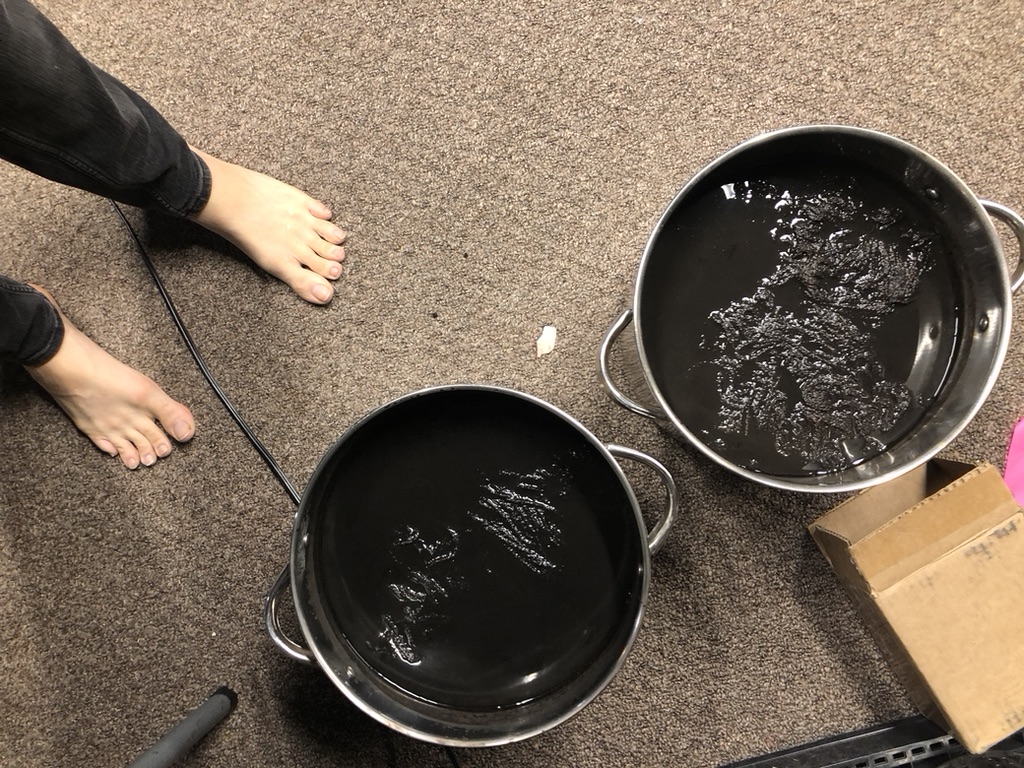
Once the fermentation period is over, it’s time to extract the color. The contents of each bucket go into a stock pot to be boiled for an hour or so before being strained into another stockpot for use as a dyebath.
After straining, I’m left with the husks that have been boiled, and these go back into the bucket to continue soaking, because I can boil and strain them multiple times over and continue to get lovely color. So far, I’m on my second round of color extraction, and I anticipate being able to get at least one more round.
After straining out the dyebath, I can then add my pre-wetted fiber directly to the stockpot and start dyeing. I usually bring the temp to somewhere between 180-200 degrees fahrenheit and keep it there for at least an hour, stirring occasionally to ensure even color application.
One of the other things I love about dyeing with black walnuts is that I don’t have to worry about mordanting my fiber beforehand, because the walnut husks themselves contain enough tannins to produce beautiful rich browns without the need for a mordant.
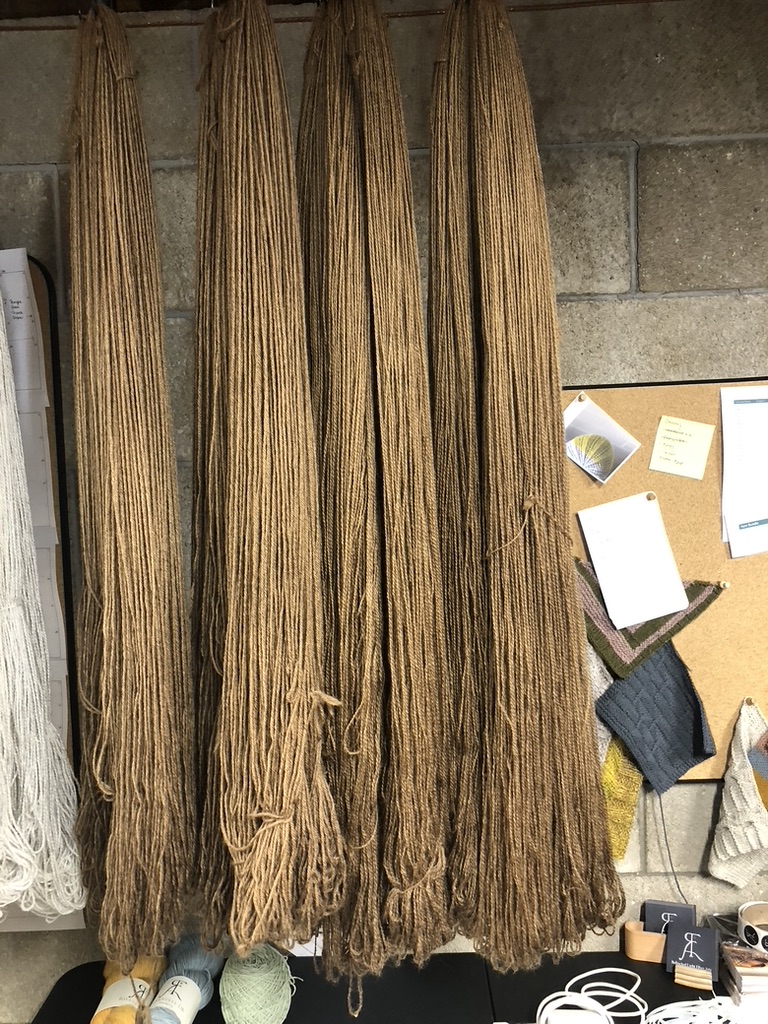
Once the dyeing is finished, I let the pots cool before pulling out the fiber to rinse. Then I hang them up to dry, which usually takes at least 24 hours, sometimes longer, depending on the temperature and humidity.
And that’s that! My process for dyeing with black walnuts.
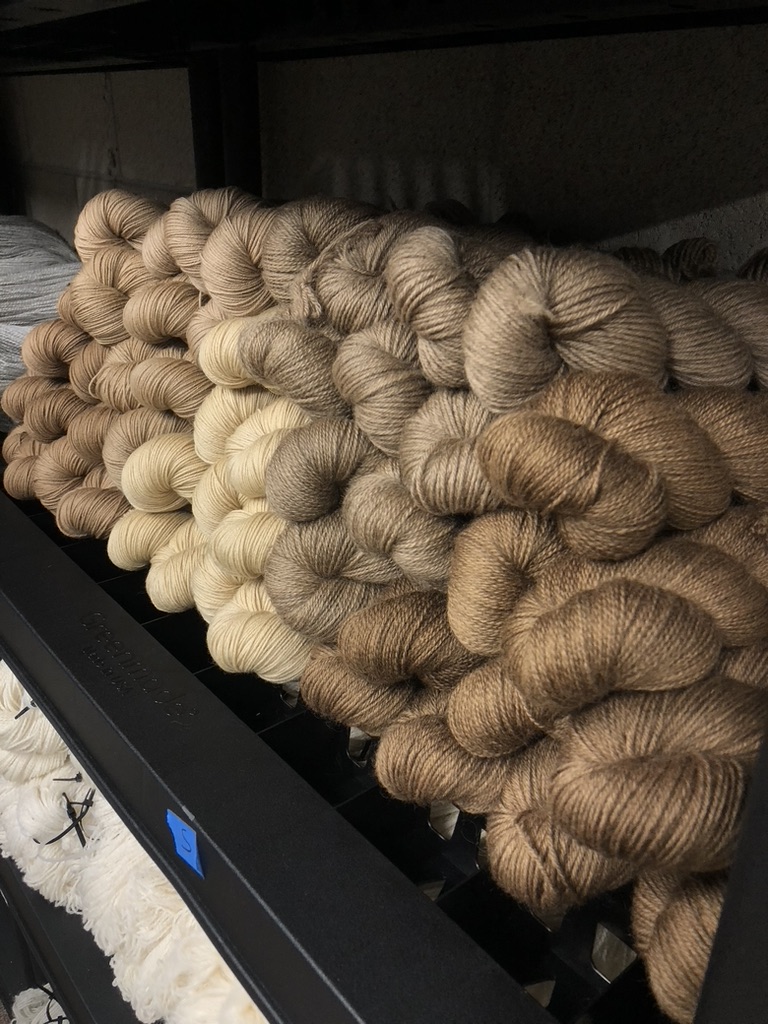
And since I never tire of showing off what I’ve dyed, here again are some of the colors I’ve dyed with this fall’s batch of black walnuts.
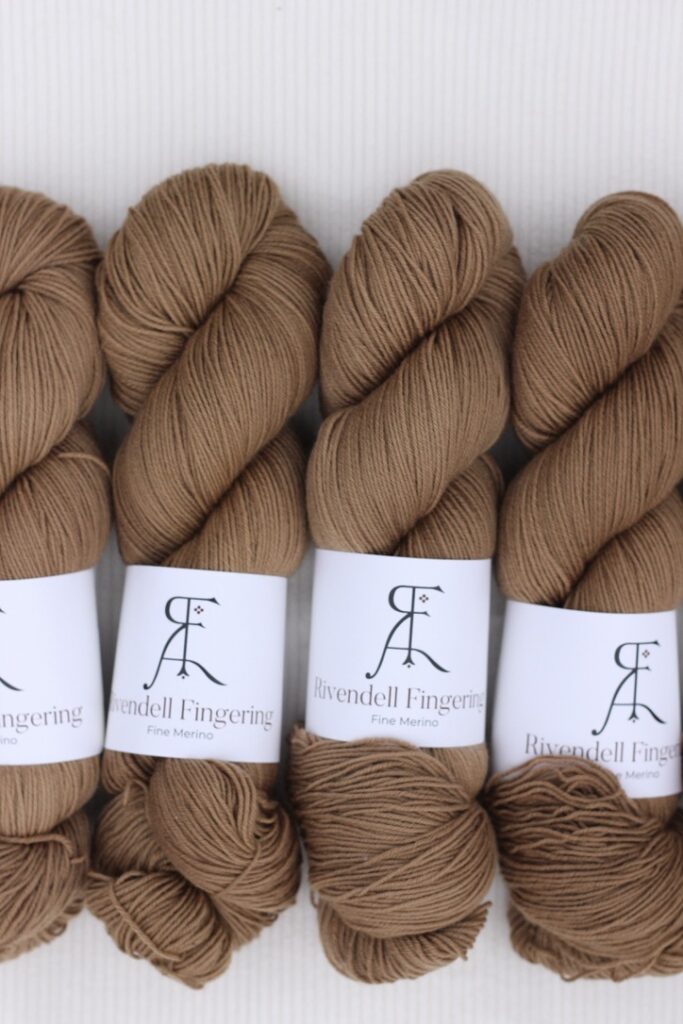

There are still plenty of skeins left in the shop, if you want to try some for yourself.


